Let’s get started:
If you just logged into Netrunner, you should see a small white network “radar” icon (or a tiny little circle) in the tray:
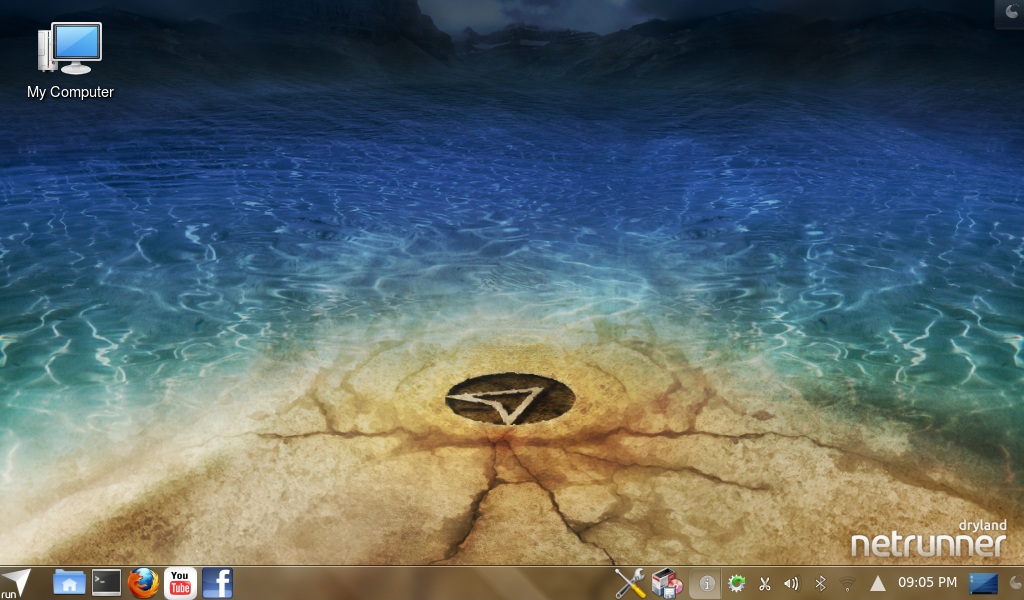
Left click on the icon and you see your connections, hopefully already detecting your wirless network.

If you don’t see any wireless networks, click on “Show more“.
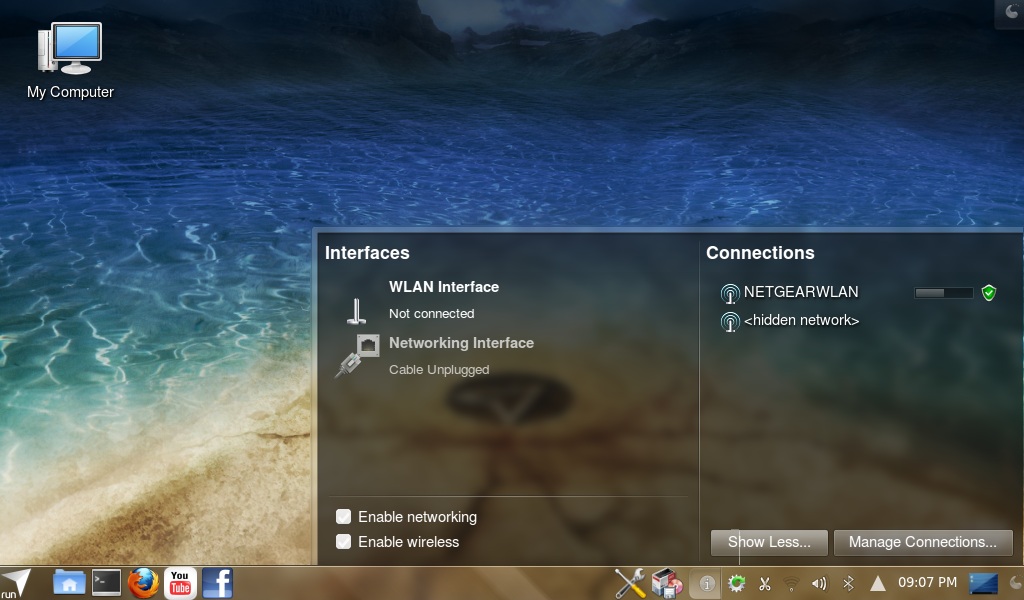
Now select “Manage connections” before clicking on anything else.
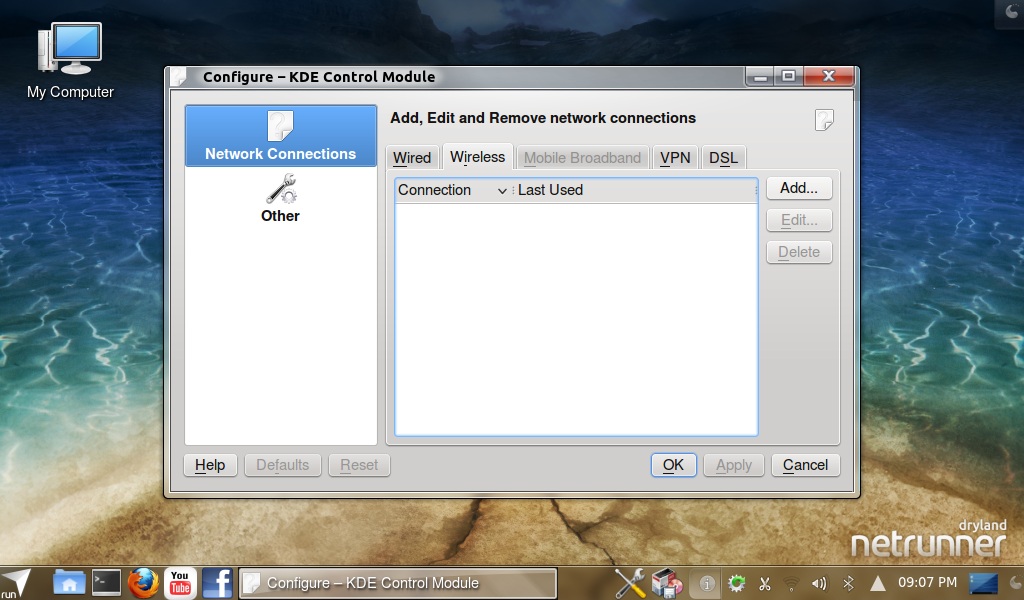
Select Network Connections on the left and then Wireless tab.
If you do not see any connections, click on Add otherwise on Edit.
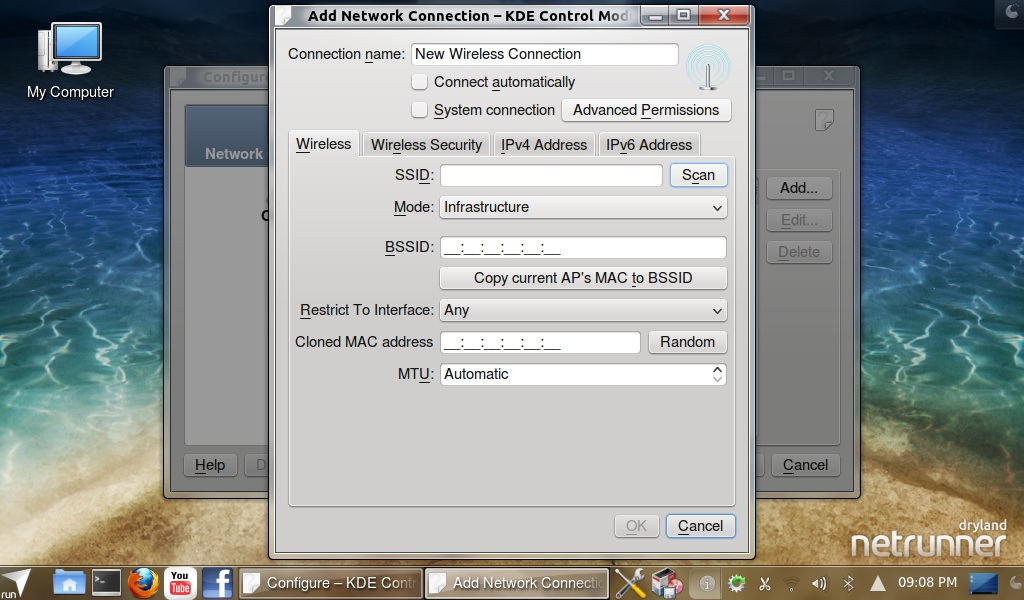
A New Wireless Connection will be created, so let’s add the SSID next by clicking on Scan.
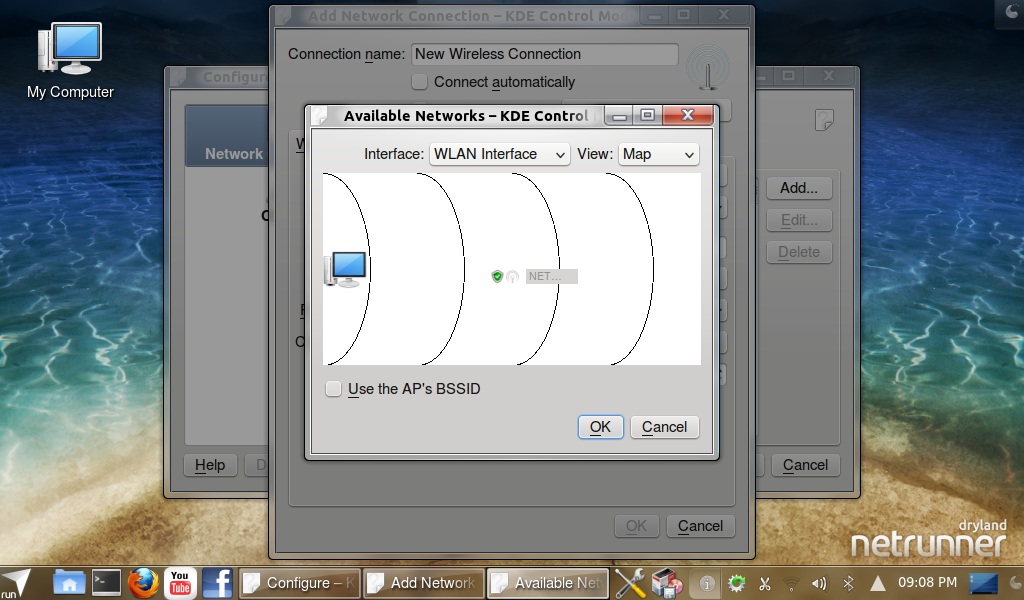
Select the network you like to connect to by clicking on it, then hit OK.
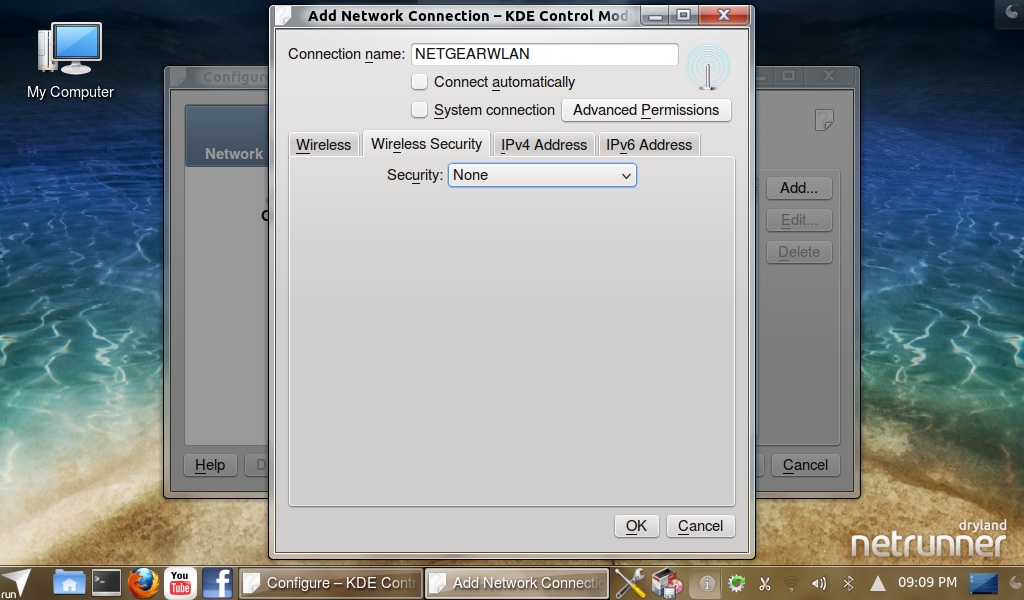
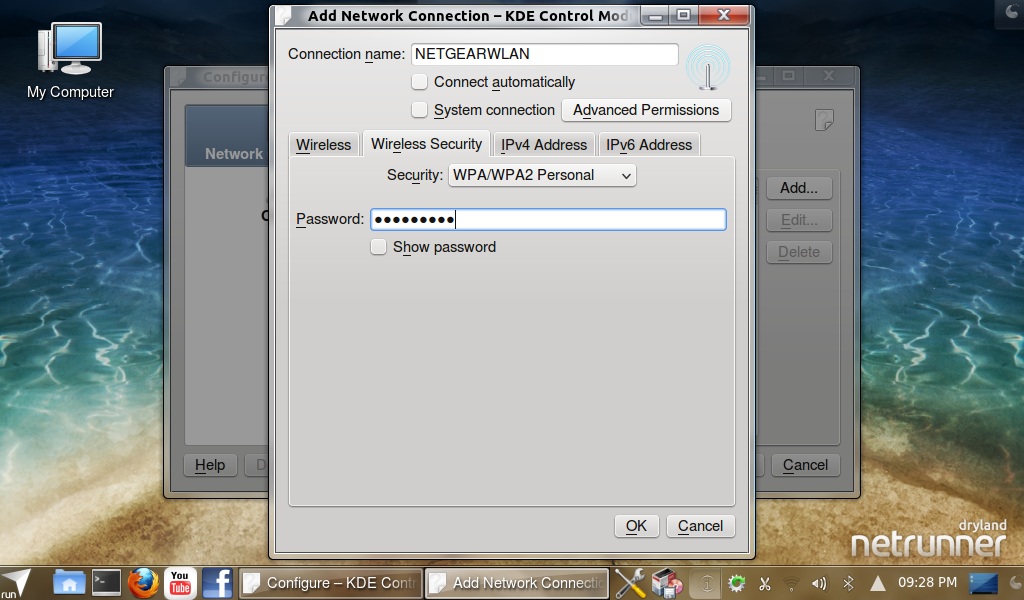
Now you need to choose the security of your network and enter the password for your network device.
Now you can choose to connect automatically upon login by checking “Connect automatically” or just leave it unchecked.
Leave the System connection option unchecked.
Click on Advanced Permissions to make sure your username is on the “right side” 🙂
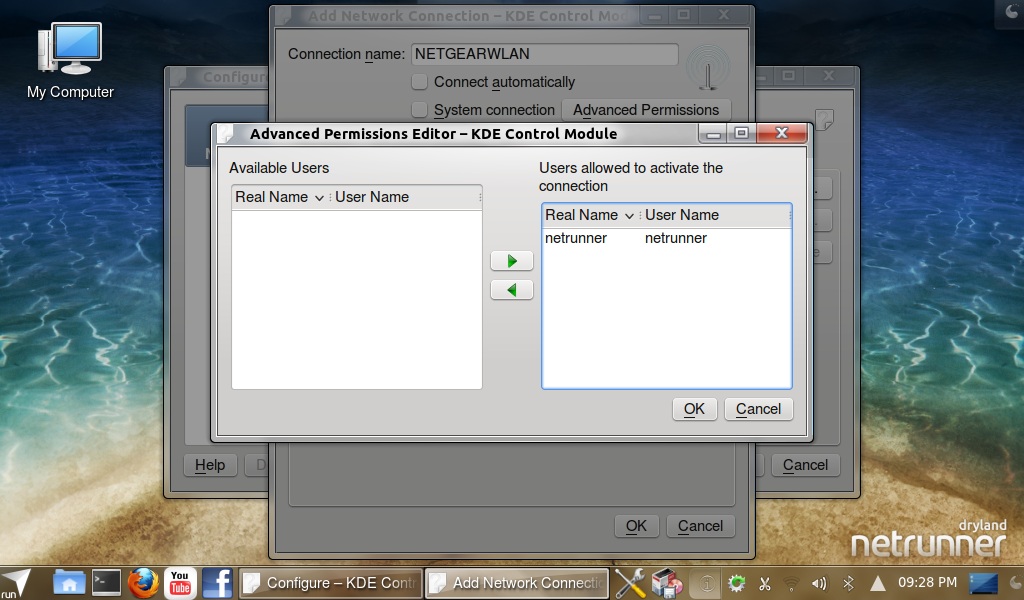
Hit OK button to close this window.
If you have chosen your security and password for your Wireless connection and click OK,
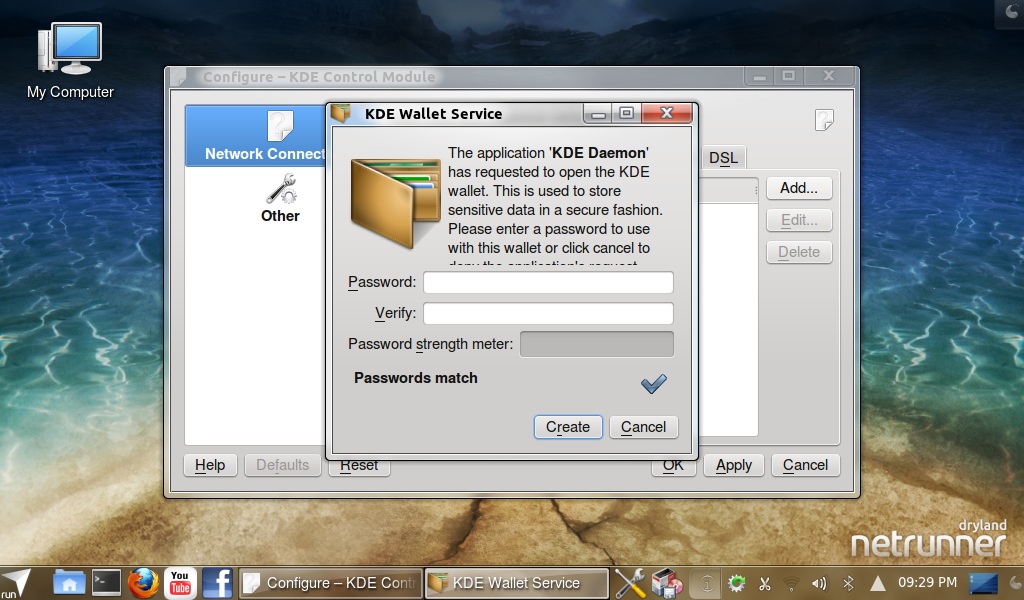
KDE Wallet will pop-up immediatly and ask for permission to access your credentials and store them securely.
Now here is the trick:
If you do not want to enter your wallet password every time you connect to your wireless,
then simply leave the passwords BLANK in both fields like shown above and simply click Create.
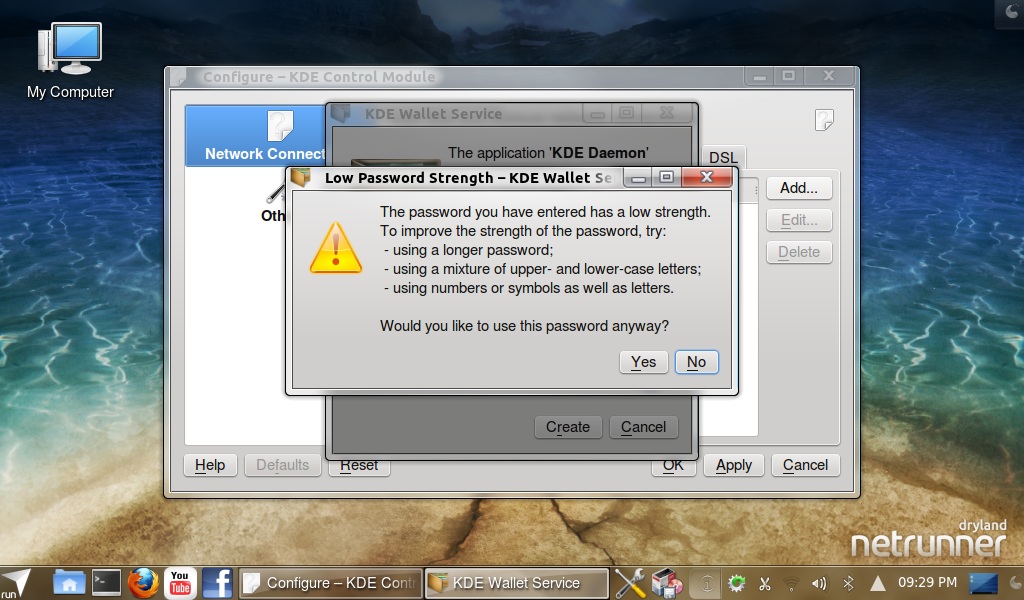
Ignore the warning message that comes up.
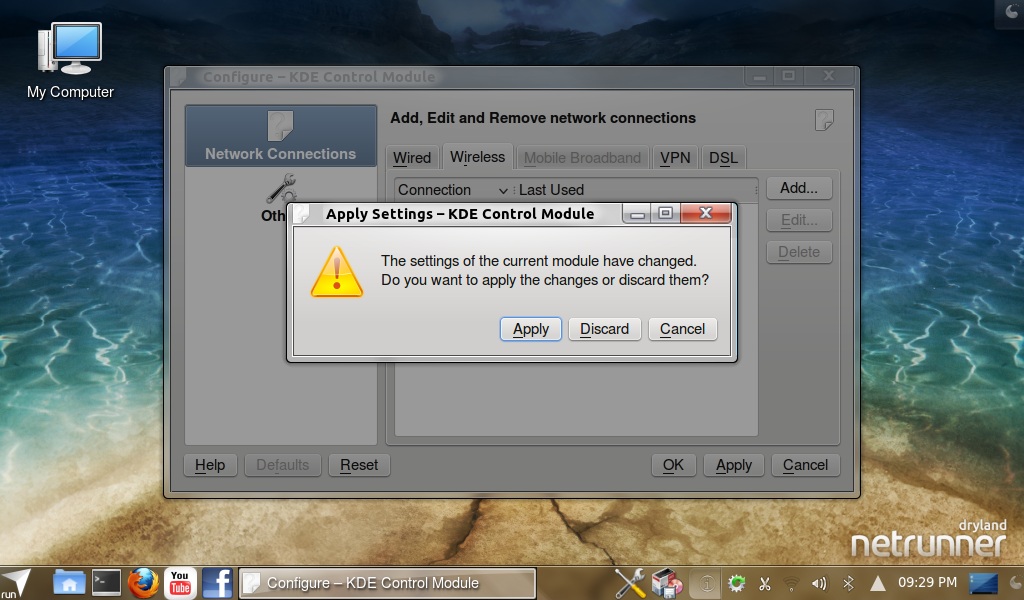
Now hit Apply (in case you forget and hit OK instead like me it will remind you)


It could be that after your next login, KDE Wallet pops up one more time again and wants you to allow it access to the password.
If you have any further questions or want to share your experience, go to our forums: