Installion Guide
Minimum Hardware requirements (tested on samsung netbook n110):
CPU: 1.6 GHz Intel Atom N270
RAM: 1+ GB
Hard Drive: 10+ GB
Graphics Card: Intel GMA 945
Video Memory: 128+ MB
Note:
If you try out Netrunner in a VirtualBox, please make sure to give it >1200 MB RAM.
Create Netrunner-USB or DVD
What you need
- Netrunner ISO
- Tool for creating a bootable USB stick: Imagewriter for Windows or Linux
- 4 GB (or larger) USB Stick
Instructions
Download Win32DiskImager for Windows: Image Writer for Windows
or install package “usb-creator-kde” or “usb-creator-gtk” under Linux
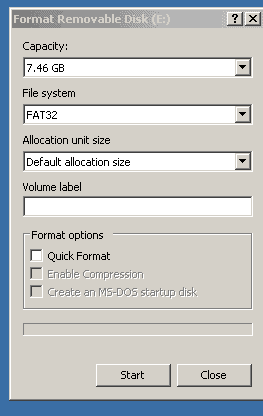
(Tip: To restore the usb stick to normal size, download bootice from here and follow these instructions (windows and linux)).
Start Imagewriter
- Open ImageWriter
- Press the select button
- Type *.* in the file name box and find your Netrunner .ISO file
- Select your USB stick under “Device” and click the Write button

You now have a LIVE USB stick with Netrunner on it, ready to boot!
Disable Secure Boot (UEFI)
Before you install, you need to make sure Secure Boot is disabled (normally it can be disabled during boot process, please google for “your hardware device + disable secure boot”).
Also, from the boot-options, use either UEFI or the non-uefi depending on how your system is already set up:

If you boot in LIVE mode and the Netrunner Logo comes up, but the desktop does not start:
Boot until you see the live system options, then go to “Start Netrunner” and press TAB instead of enter:
Now you can add “vga=normal nomodeset” to the boot options in the bootmenu and press Enter to start in vga/vesa compatibility mode.
If you find any issues and want us help fixing it, please post in our forums or report the issue at github:
https://github.com/netrunner/netrunner-issues/issues
Booting from LIVE-USB/DVD and Installation
» This will be performed on the machine on which you wish to install Netrunner.
» This step is “non-destructive”, that means:
You do not have to permanently install Netrunner at this point. You can explore the operating system from your USB-Stick to see how you like it without affecting your existing setup.
1. Insert the Netrunner USB-stick into the USB slot of the machine you want to test
Note: Make sure your machine is set to boot from USB first. You may need to check your BIOS to enable this functionality.
2. Boot the machine and watch stuff happen!
Once Netrunner is up and running you should see something like this:
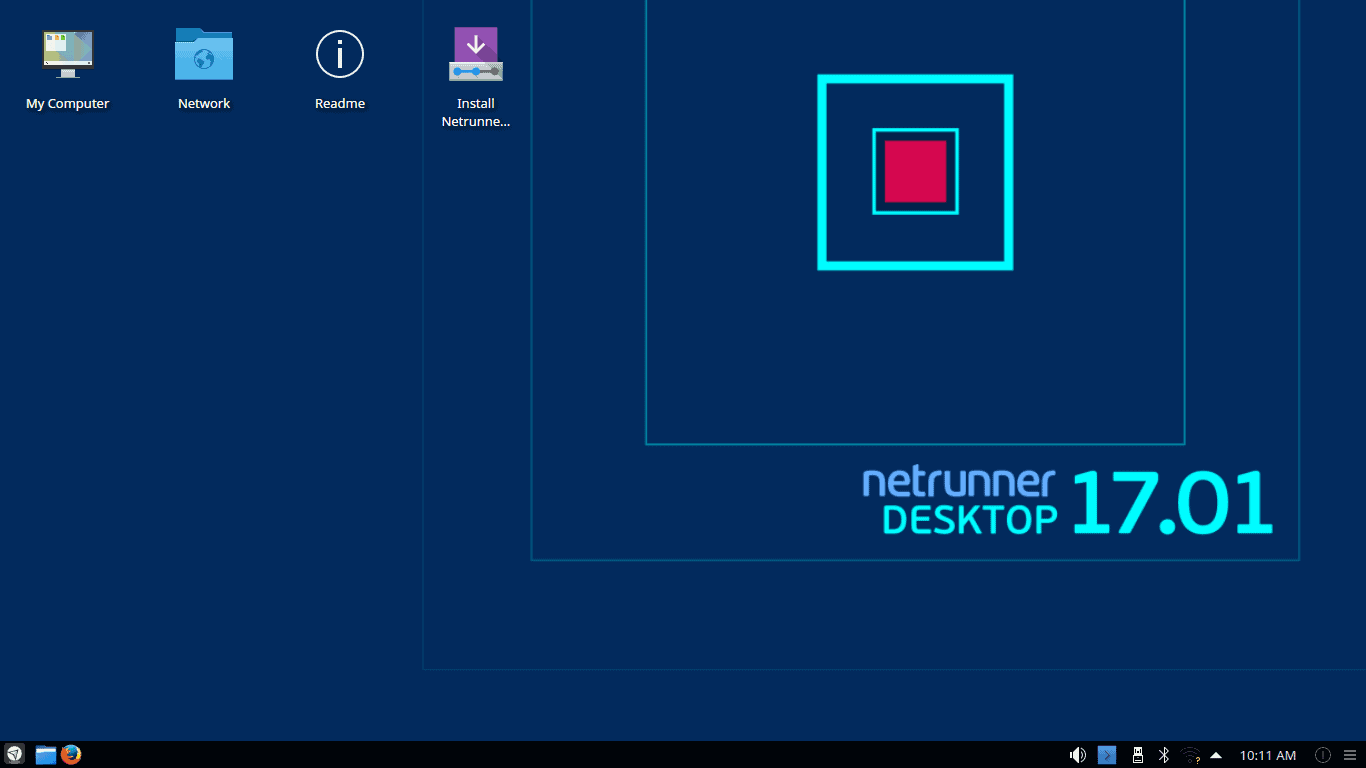
3. Explore Netrunner
Note: In the LiveUSB environment you can explore Netrunner without making any changes to your existing system. In the LiveUSB environment the performance will usually be less compared to the normal, installed mode.
Once you are ready, double-click on the “Install Netrunner” icon.
4. Click on “Install Netrunner” to begin the install process
4.1 First choose your preferred language.

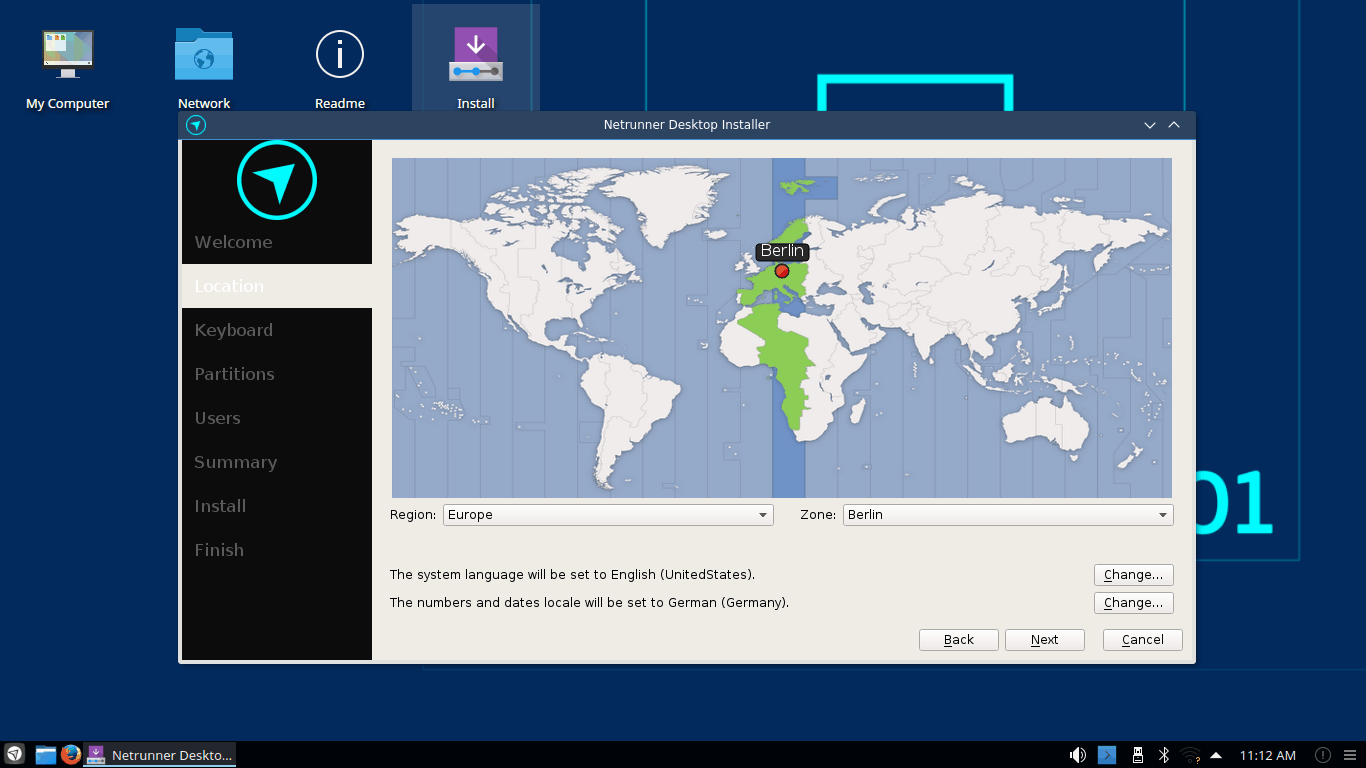
4.2 Location
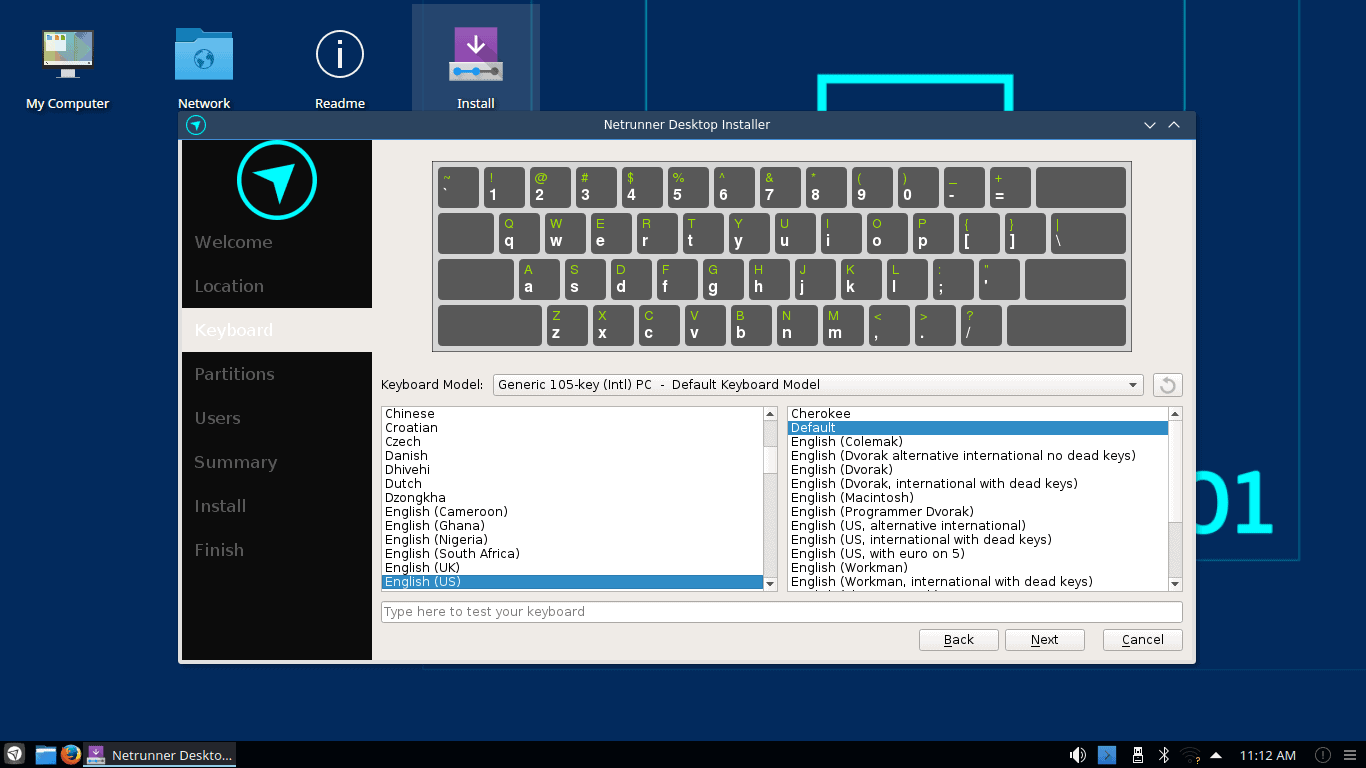
4.3 Keyboard
4.4 Disk Setup
Partitioning is usually the one area that trips up newcomers to Linux. You have 3-4 basic options:
Option 0: Alongside: Install Netrunner “side-by-side” an existing OS, giving it a portion of the hard drive (Note: this option is sometimes not available).
Option 1: Replace: Simply pick an exisiting partition and install Netrunner on that, overwriting everything that currently exists on that partition.
Option 2: Erase: Install Netrunner only, giving it the entire hard drive and erasing all other data.
Option 3: Manual: Of course, the installer has also an advanced option where you can set the partitions to your exact liking if you are in need of that level of control.
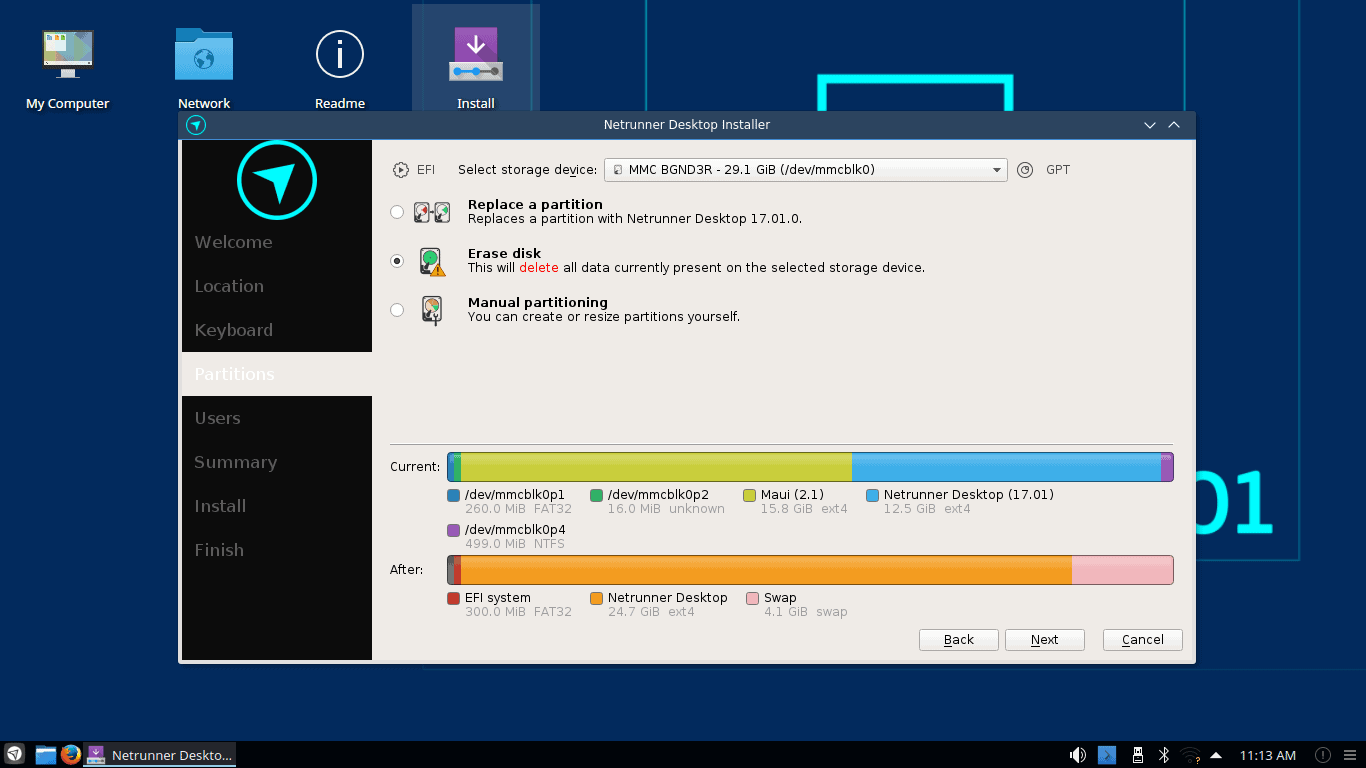
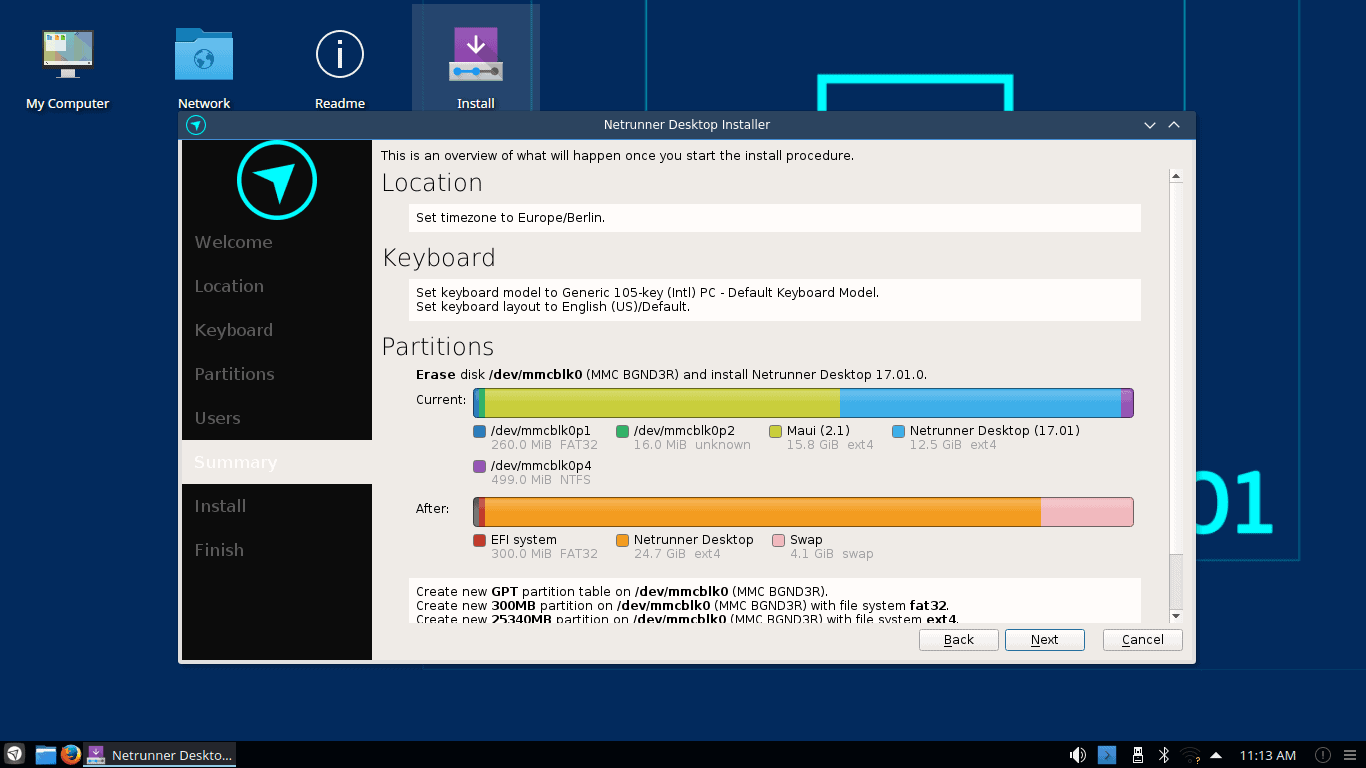
In this screenshot, I’m choosing Erase and installing Netrunner on the whole disk, erasing everything else that is currently on there.
4.5 User, Hostname and Password
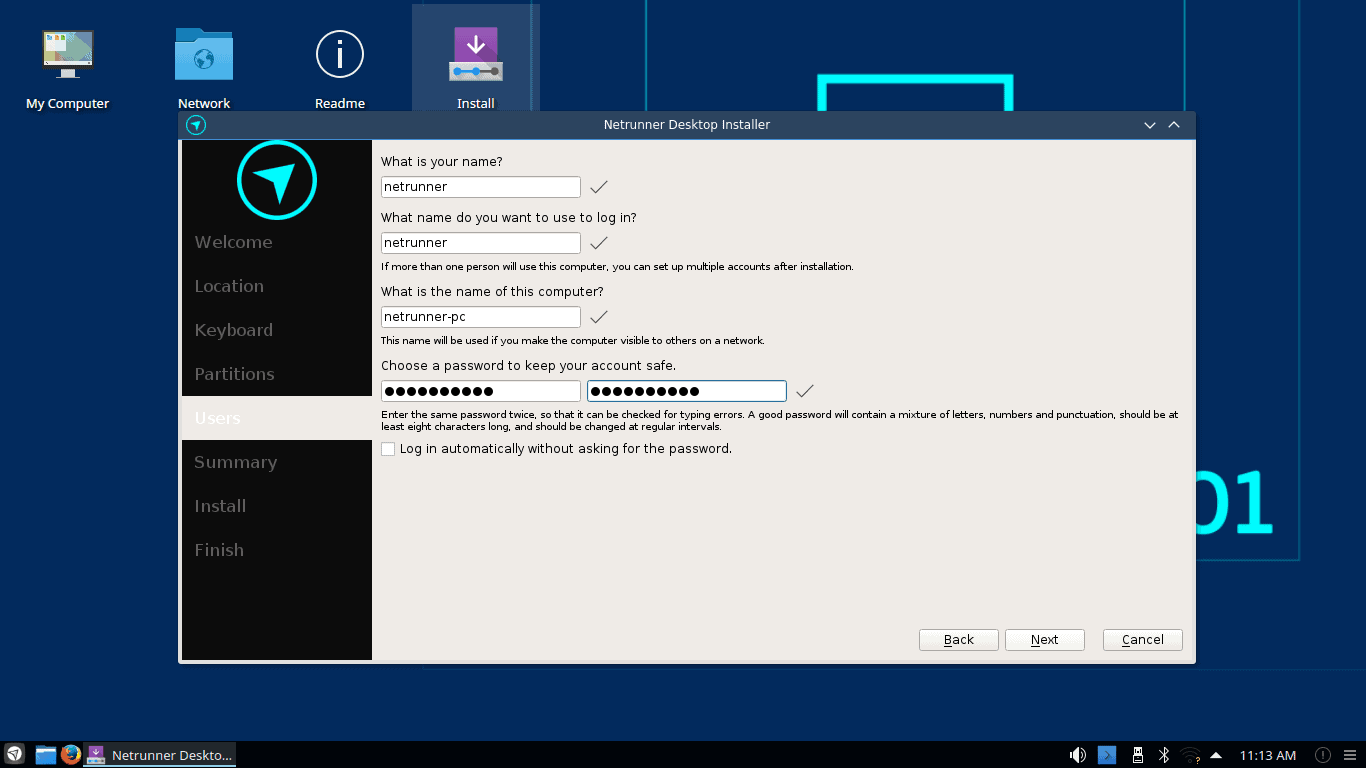
Here you enter your name, username, password and choose the name for your computer and a default login option.
4.6 Summary and Install (Installation progress)
Up to this point, you can still cancel the Install process and nothing has been done.
If you are ready to install the system, click “Next” and Installation begins.
The installer then will proceed with a slideshow and display a progress bar and status information while installing.
Note: At times it may seem the installer froze because there seems to be no progress – that’s not unusual, so don’t worry and just give it some time to finish.
At a maximum, the installation process should take about 30 minutes, much more likely are 10-15 minutes though (depending mainly on the cpu and hard drive of the machine).
After installation is finished, you can either restart or continue:
If you restart, the system will power down and reboot, so don’t forget to remove the stick after the system has shut down.
To give feedback for this article please comment below or further discuss the installation in our forums.